Now that you're all set to begin it's time to color your hair.

Step 1: Sectioning - Begin by separating your hair into sections. Divide the hair into four parts starting with a main section from the middle forehead down to the middle of the nape and then across from ear to ear passing the crown. Use clips if you can. Remember to color your roots last, since these absorb color more rapidly.
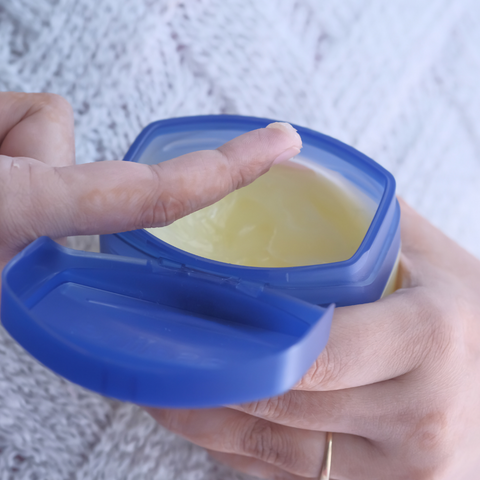
Step 2: Barrier Application - Put a petroleum jelly around your forehead & hairline to act as a barrier for the color to avoid staining your skin.
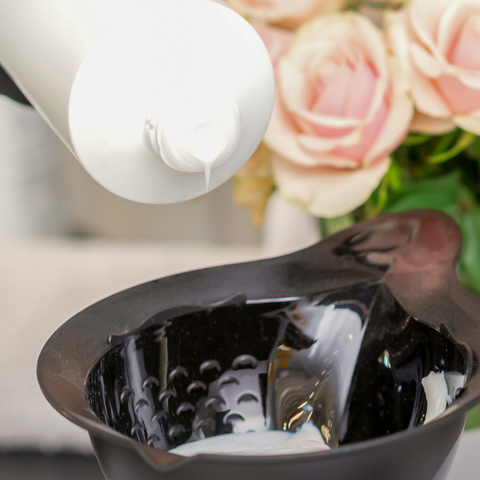
Step 3: Mixing - Squeeze all contents of the color tube and pour the recommended amount of developer into the mixing bowl. Mix contents until you get a smooth texture and all the lumps are gone, mixing would take about 30 seconds. The color might change consistency after 30 minutes of being left in the air, so you should mix the contents when you are ready to color already.
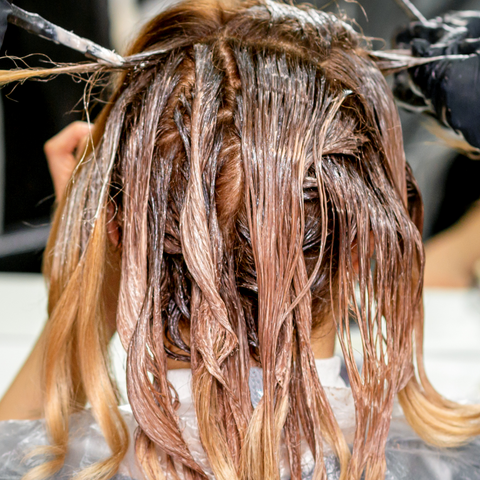
Step 4: Initial Application - Starting from the forehead take finger width (1/2 inch) horizontal sections and apply the color liberally. If touching up regrowth, try not to color previously colored hair but it is okay to overlap a bit.
Step 5: Full Application - Move from the forehead to the crown and work your way back to the side and the nape area.
Step 6: Emulsify - Add a small amount of water to the hair and begin to massage the hair and color together, creating a nice lather. By properly emulsifying the hair, you are breaking up the oil-based color and ensuring the hair has absorbed as much of it as possible before closing the cuticle.
Step 7: Processing - Allow the color to work on your hair following the prescribed time. Remember that the developer starts working within about 30 minutes of mixing with the colorant so if you aren’t confident in getting it all done by yourself, we recommend asking someone to help you.

Step 8: Rinse and Protect Once your hair color has set, rinse until the water comes out clear*. Some residue may be left behind but make sure to get as much of the excess product out as possible. You can add a layer of conditioner to seal the hair and offer added protection to your new color.
*Shampooing the hair color will depend on the instructions stated in your pro hair color.
Pro Tip: How to Avoid Hot Roots
Hot roots occur when the color of your roots are lighter than the rest of your hair. The heat produced by the scalp can cause the hair nearest it to lighten more (process faster) and become warmer than the ends of the hair. To avoid this, make sure you leave your roots especially the ones at the top of your head last when applying hair color.
After Care
Now that your hair has been colored, it’s time for you to help make it last longer. With the proper care, tone, and hair color refresher, you can enjoy your new hair color for months to come.
Cleansing Colored Hair
You’ve probably been hearing a lot about sulfate-free shampoos, not only are they milder, and better for the environment, but they’re also great for colored hair. Sulfates are what make shampoos foam, but in the process, they also can strip away hair color. Get a good daily sulfate-free shampoo here and protect your hair color.
Blue, Greens & Purple Toning Shampoos and Conditioners
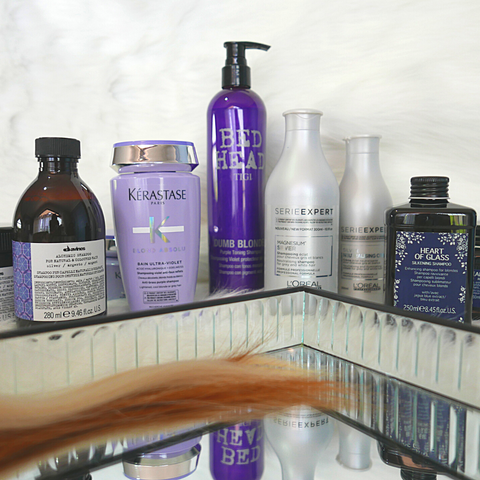
As many blonde heads can attest to, toning shampoos make a huge difference on your hair color. So aside from a daily shampoo, you can also get a pigmented shampoo or conditioner that neutralizes unwanted color tones that start to appear over time. If you notice brassy yellows, bright oranges, and uneven reds on your strands, then you need an opposing color to block it. See more toning products here.
Color Refreshers
Color refreshers are pigmented shampoos and treatments that match your current hair color by depositing temporary pigments into your strands. As the name suggests, it refreshes your hair color by filling in the faded parts. Have your pick of color refreshes that not only provide vibrant color but also protect color-treated hair. For more on color refreshers, check out our collection here.
Hair Masks and Hair Color Conditioners
Aside from losing color, overtime your opened cuticles (caused by hair color) lose moisture more easily. You’ll notice hair become frizzier and tangled. To help your thirsty stands, remember to regularly use color-safe conditioners and weekly hair masks. Find our best color-safe conditioners and masks visit our collection here.
Frequently Asked Questions
What to do with leftover colorant and developers?
In about 10-15 days your roots will begin to show. If you have some unmixed colorant and developer left over, you can use them for retouching your roots. Remember that the ratio of colorant and developer should remain the same for more consistent results. You can retouch as often as once a month if needed.
How often can I color my hair?
As a general rule of thumb, 6 weeks is the best lead time to coloring your hair. If you plan to change your hair color altogether, it’s best to consult with a hair care professional.


")
")
")
")
")
")
")